Cell culture
- Thaw and culture cells of interest in accordance with supplier recommendations and passage as needed.
- Detach and count the cells in order to dilute the cell suspension to the desired working concentration.
Seeding cells
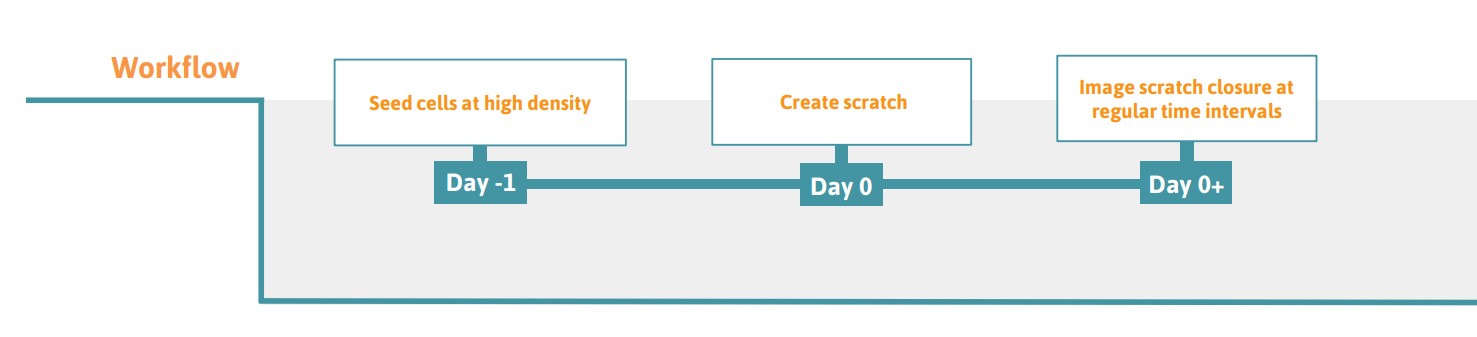
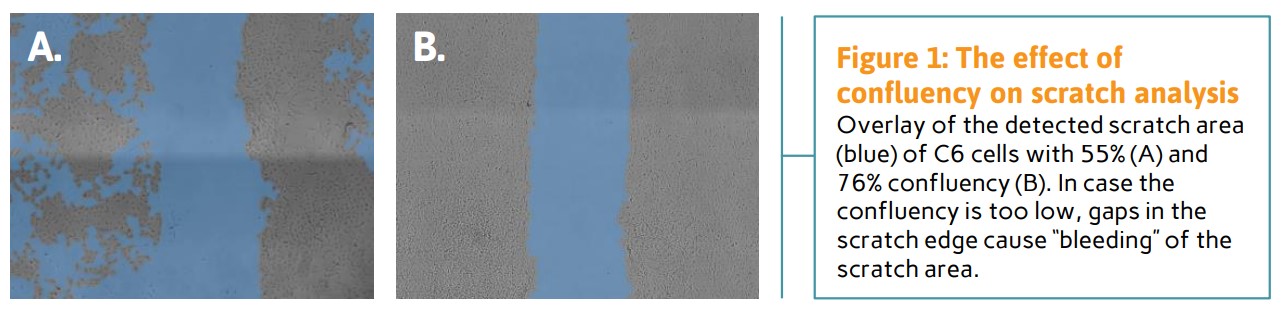
- Add the appropriate amount of cell suspension to each well such that the monolayer reaches 75-90% confluency by the start of the experiment (Fig. 1). Make sure to homogeneously spread the cells during seeding.
- Place the cells in the incubator for at least 24 hours to form a cell monolayer. Avoid shaking the culture vessel as this will result in an inhomogeneous cell distribution.
- If desired, add a step to limit cell proliferation to ensure scratch closure is solely caused by migration. This can be done by overnight serum starvation or addition of mitomycin C, a DNA synthesis inhibitor.
Performing the scratch assay
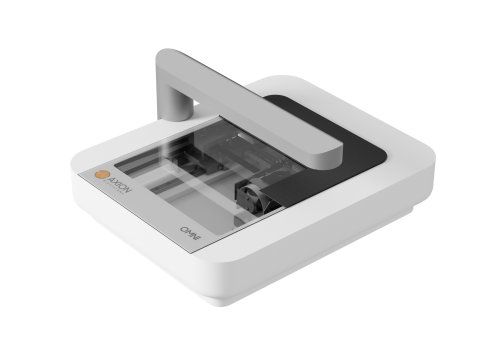
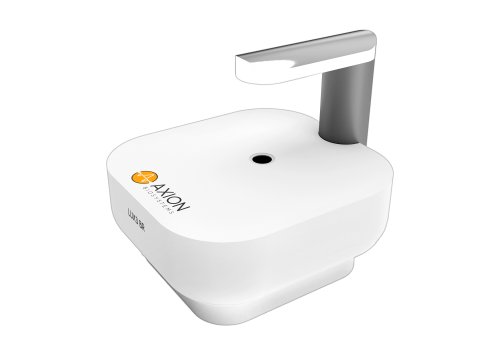
- Check the cell density after 24 h with the Omni or Lux3. In case the confluency is lower than 75%, place the cells back in the incubator and check the confluence regularly until the correct level is reached (Fig. 1).
- Prewarm culture medium and PBS. If applicable, add test compounds to the medium.
- Create scratches using a p200 pipette tip. Place the pipette tip next to the wall of the well such that it is exactly perpendicular to the well bottom. Drag the tip to the other side of the well while applying gentle pressure.
- Aspirate the medium. Make sure not to touch the scratch while aspirating.
- Add PBS and swirl gently to release all scratched cells from the bottom. Aspirate the PBS. Repeat this process in case detached cells are still visible in the scratch area.
- Add cell culture medium (with test compounds).
Live-cell imaging
- Place the well plate on the Omni or Lux3 located in a cell culture incubator.
- Select the full scan mode or brightfield channel. Subsequently focus such that there is a clear contrast between the scratch and the cells.
- Select the Scratch Assay Module and a time-lapse experiment. Choose a 30 minute or 1-hour interval for 24-hour experiments or a 2-hour interval for 48-hour experiments.
Analysis of scratch closure
- Go to the Axion Portal and open the experiment.
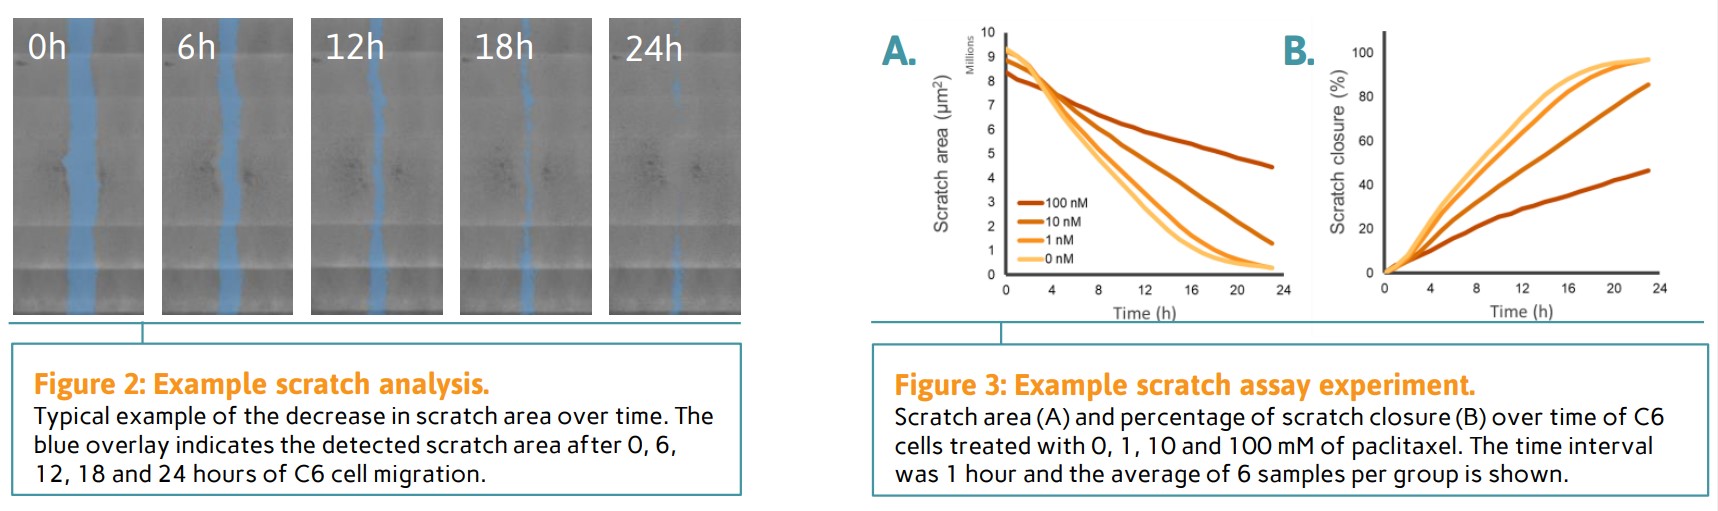
- Toggle on the Scratch Assay Module to get an overlay of the scratch area on top of the brightfield image (Fig. 2).
- Scratch closure percentage (Fig. 3B) can be calculated from scratch area (Fig. 3A) using the following formula:

A0: scratch area at the first timepoint, At: scratch area at the current timepoint.
Required Materials
Consumables
Equipment